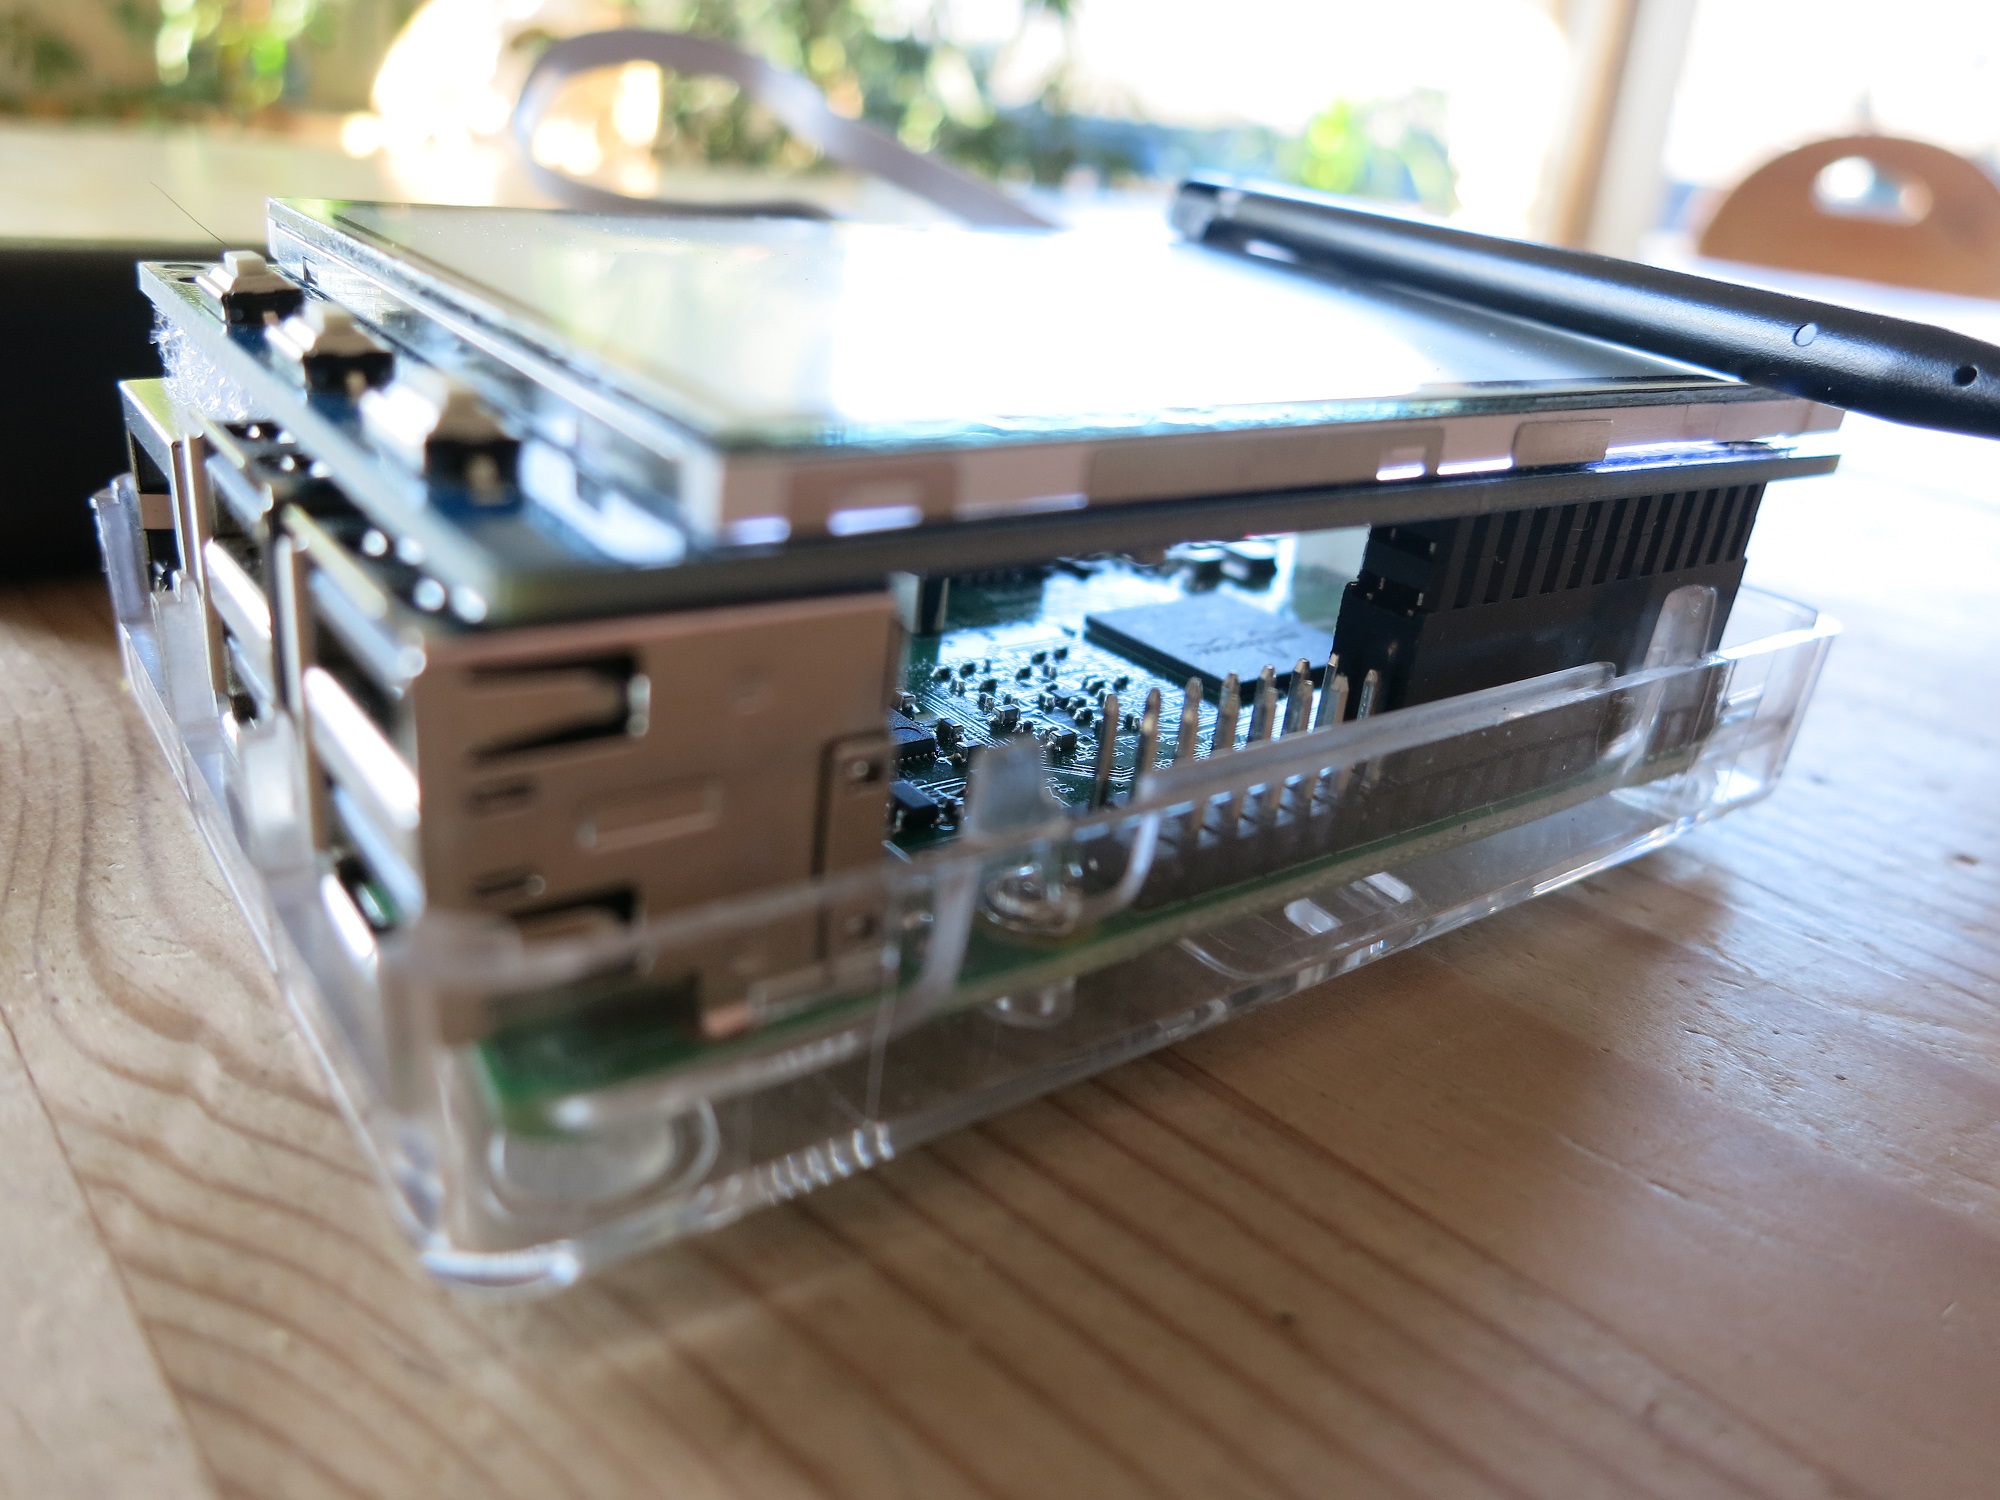
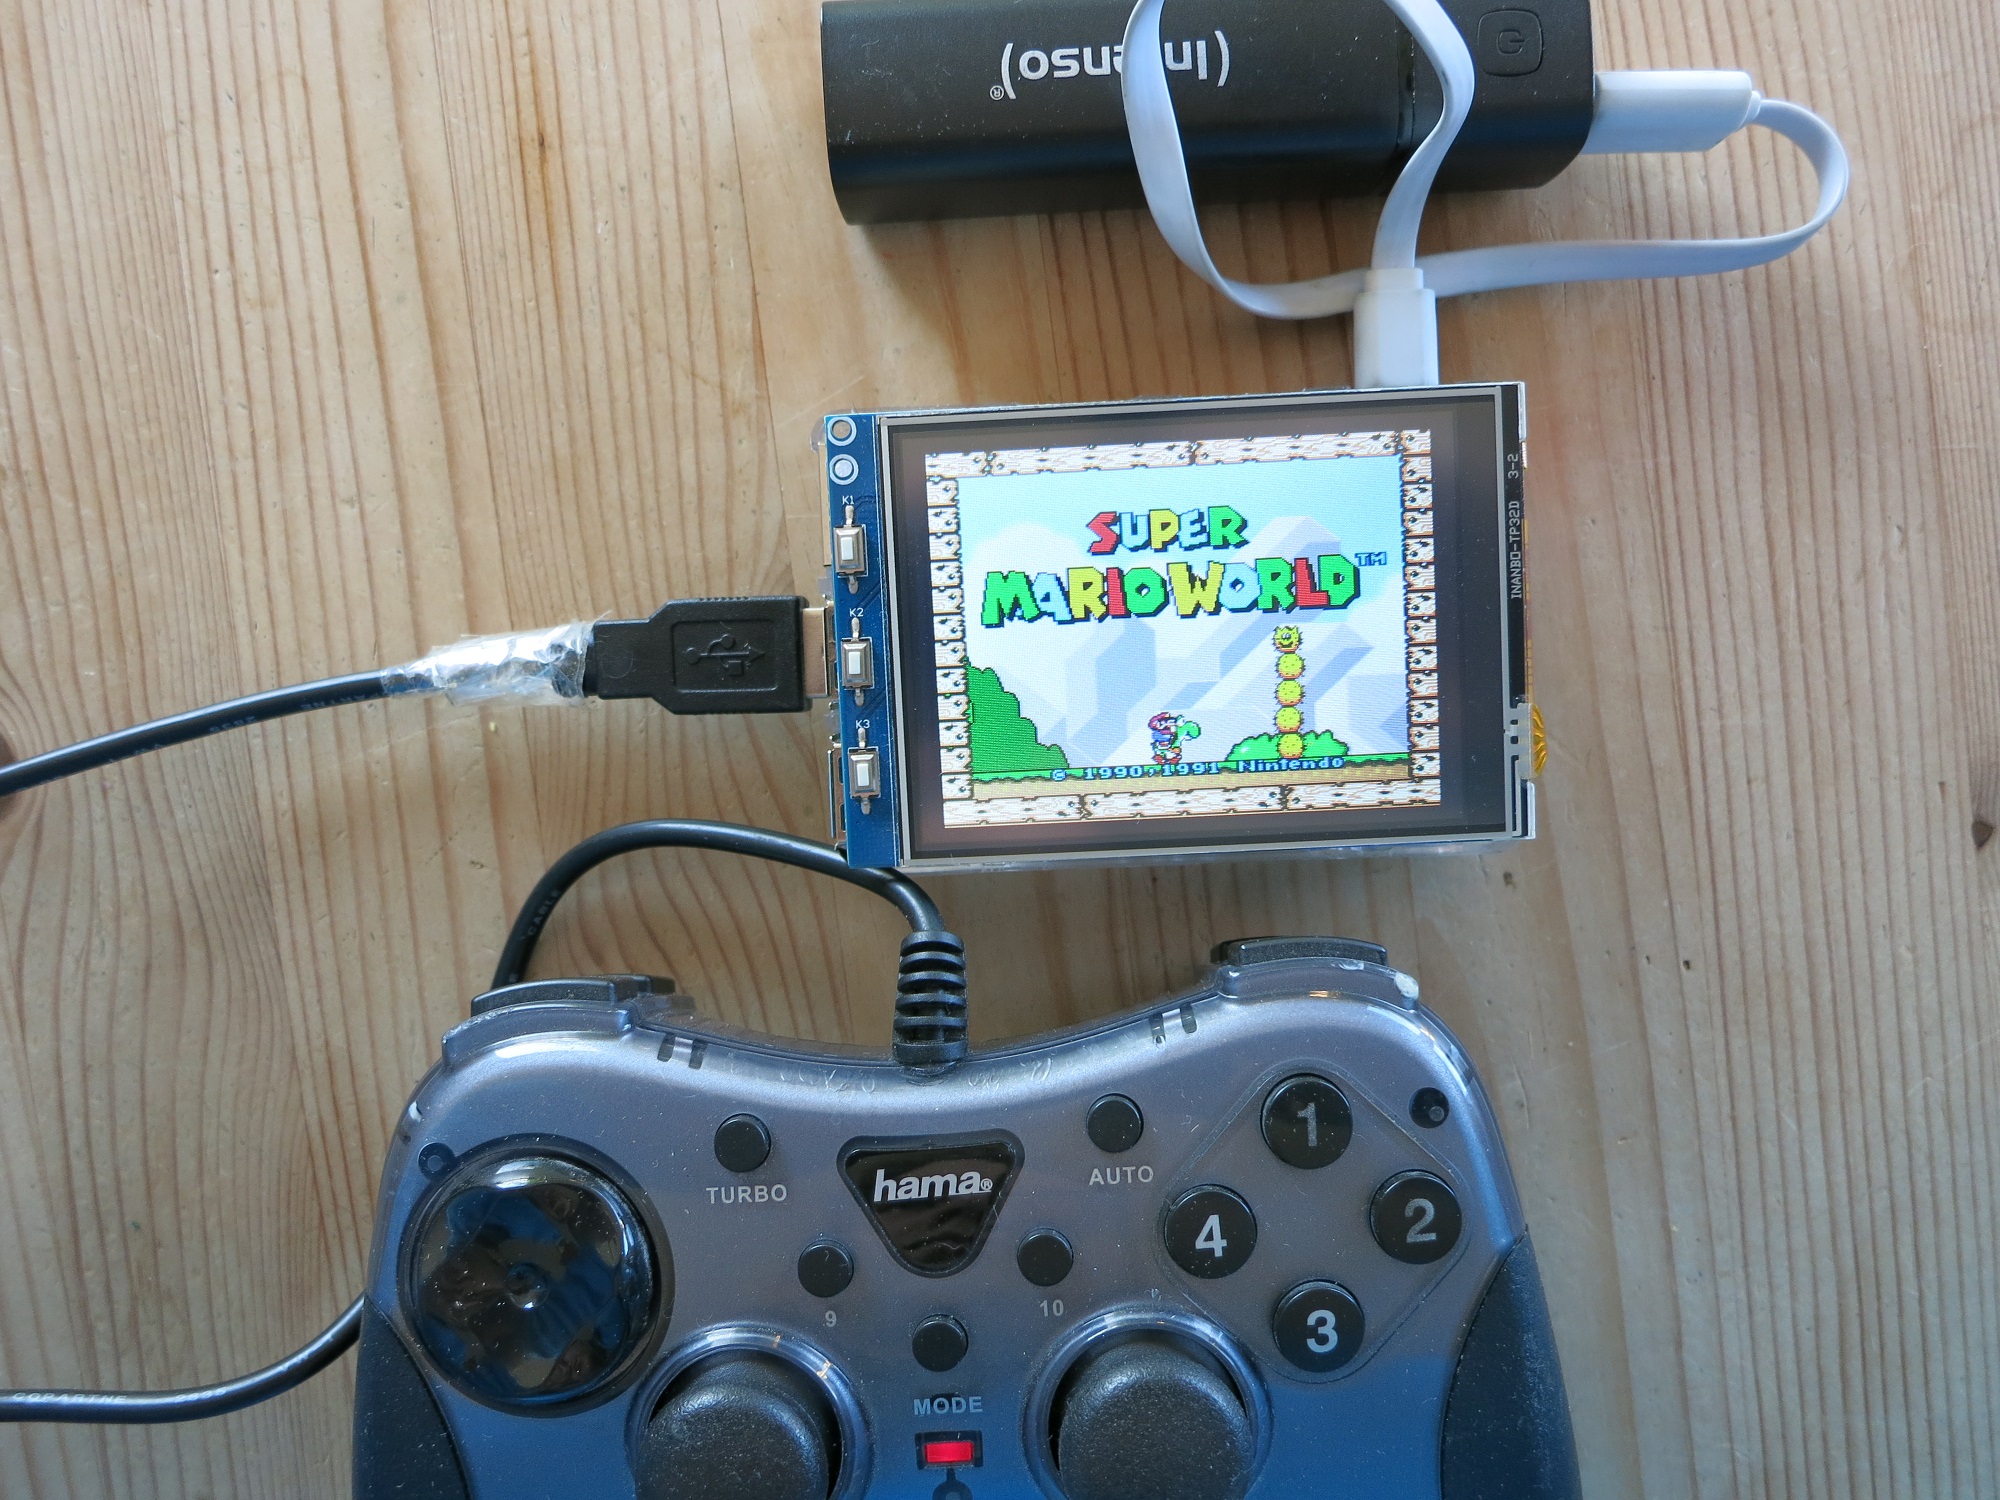
Last week I got an small 3.2'' LC Display for my raspberry pi. It was the one used as Retrogaming Station running Retropie.
The price was in my opinion really fair with slightly above 20,- €
Also the physical installation worked very simple: just plug it on your RPi - no need to connect any cabled or power supplies.

The RetroPie setup also worked out easy: I just followed one of the numerous guides. One Problem occured: The Framerate or better the refresh rate of the Display was too slow to play any games .... So I searches a bit and found a guide to overclock the spi connection to achieve a really good result: You need to modify your config.txt in the boot partition

this makes it usable actually. The first line switched to a hdmi mode where you set the resolution manually to 320x240 (like the res of the lcd) The second line overclocks the display driver ;)
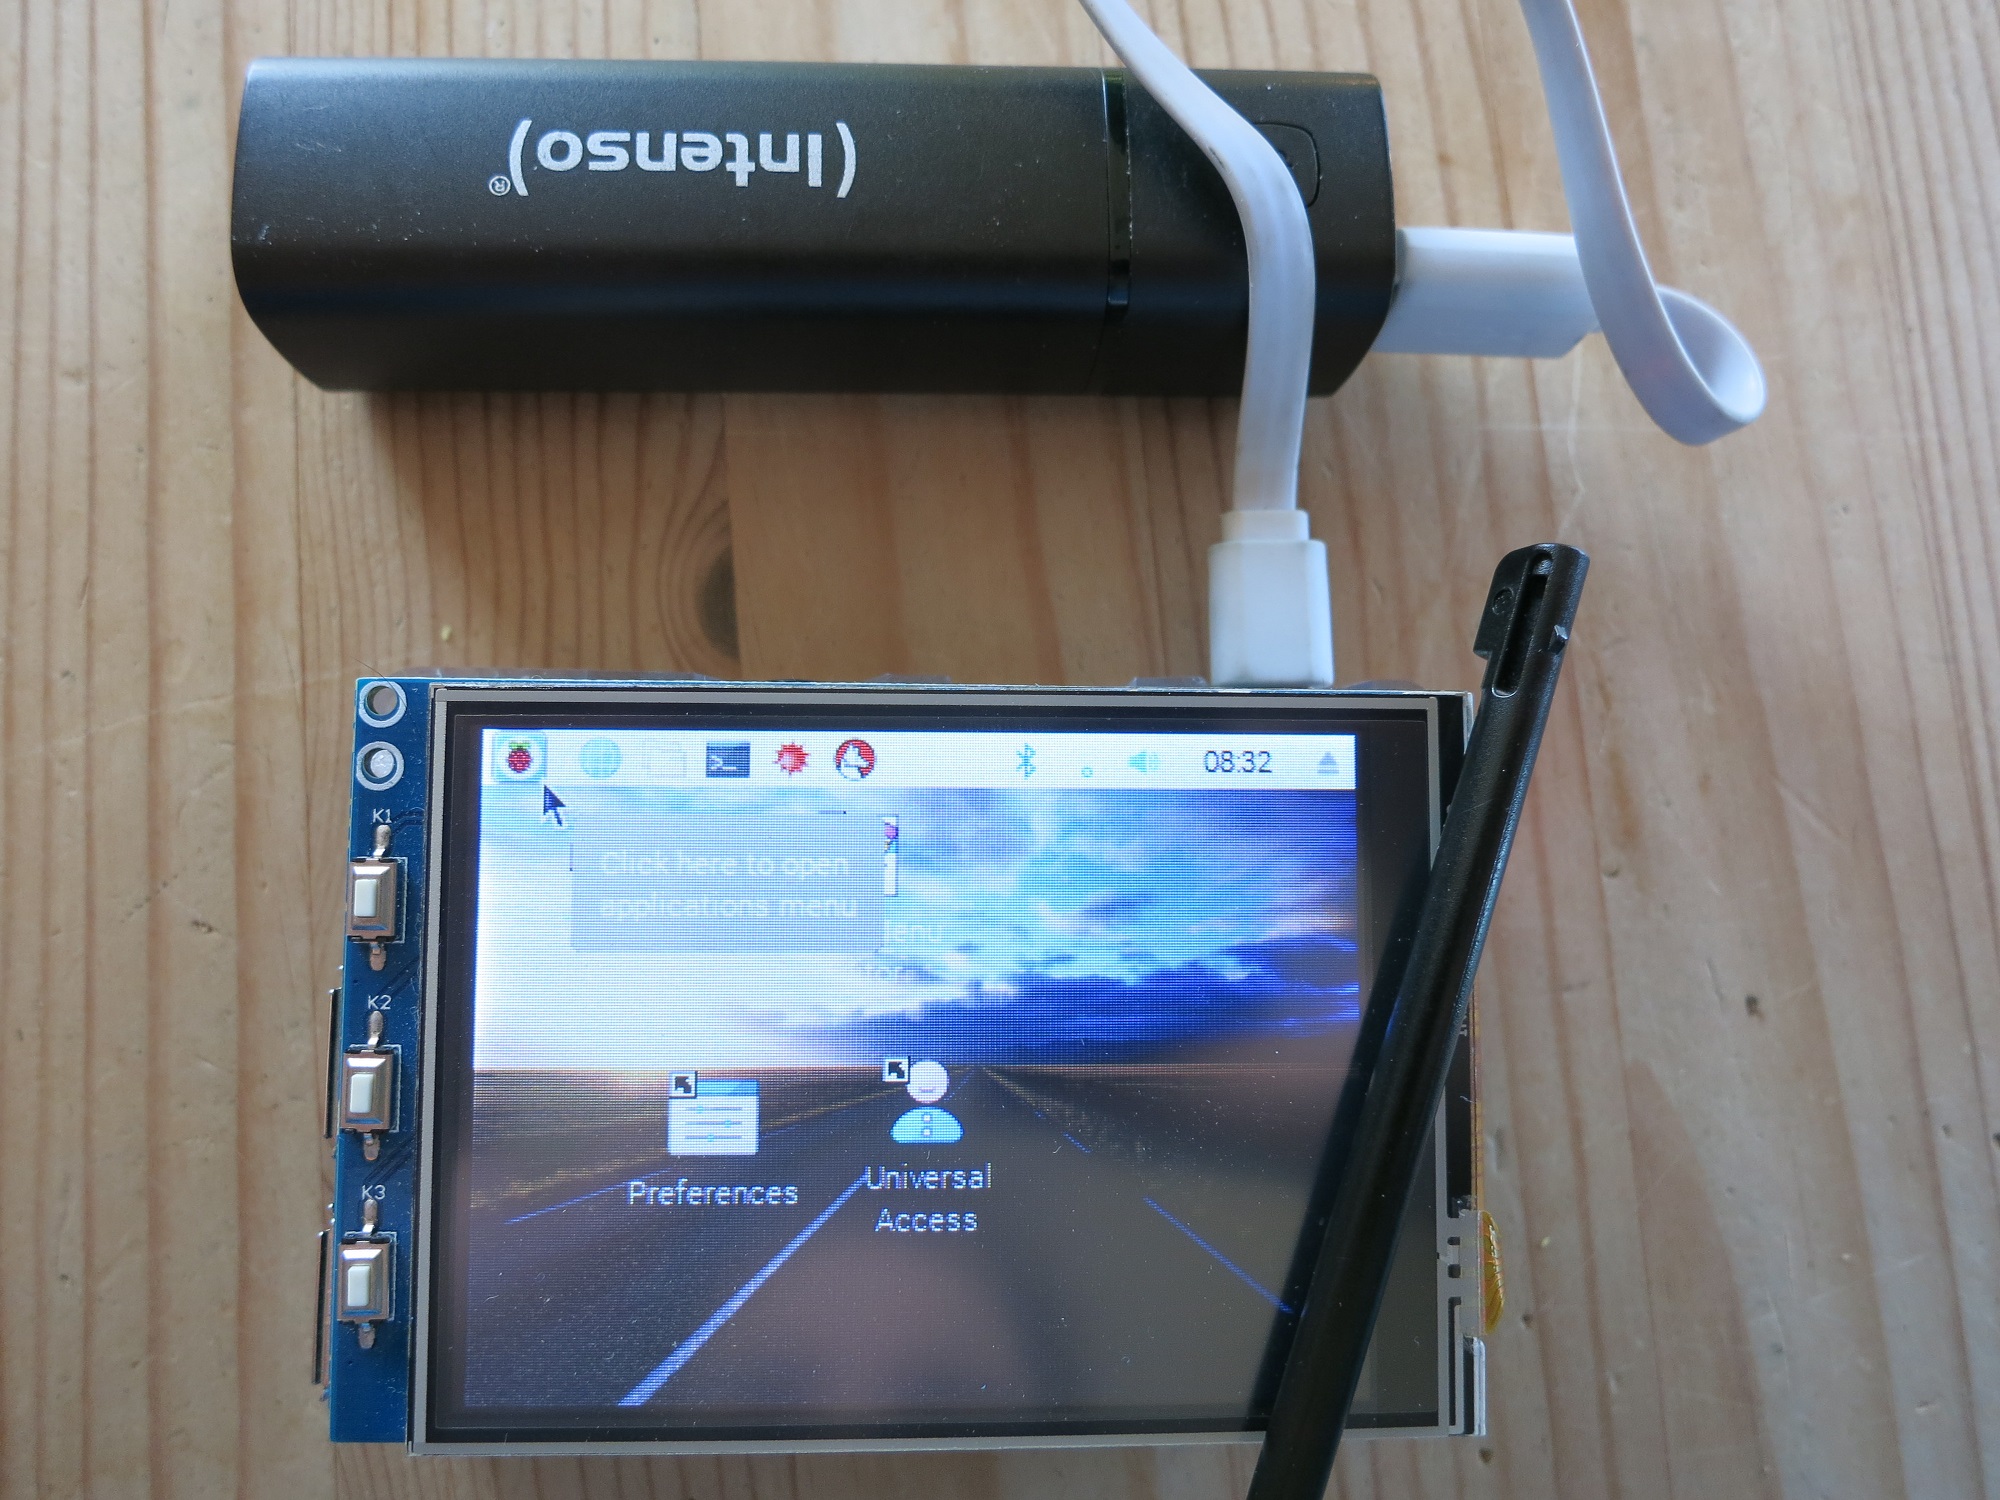
Part 2 of my fiddlings was to install a second sd card with a normal raspbian for the lcd. This worked even easier, as waveshare offers a prebuild installation routine. Just _one_ small problem with the touchscreen occured: since january Raspbian uses a different enviornment for touchscreen, you need to set the config manually:
Install the evdev package:
Simply add a Driver directive to the config line at /usr/share/X11/xorg.conf.d/99-calibration.conf so it looks like this:
make a copy of this config, cause everytime you switch back to hdmi output and back to lcd output it will be overwritten ;)

Have a nice time fiddeling,
yours
webdoc
The price was in my opinion really fair with slightly above 20,- €
Also the physical installation worked very simple: just plug it on your RPi - no need to connect any cabled or power supplies.
The RetroPie setup also worked out easy: I just followed one of the numerous guides. One Problem occured: The Framerate or better the refresh rate of the Display was too slow to play any games .... So I searches a bit and found a guide to overclock the spi connection to achieve a really good result: You need to modify your config.txt in the boot partition
hdmi_force_hotplug=1 hdmi_cvt=320 240 60 1 0 0 0 hdmi_group=2 hdmi_mode=1 hdmi_mode=87 dtparam=spi=on
dtoverlay=waveshare32b:rotate=270,speed=82000000,fps=60
this makes it usable actually. The first line switched to a hdmi mode where you set the resolution manually to 320x240 (like the res of the lcd) The second line overclocks the display driver ;)
Part 2 of my fiddlings was to install a second sd card with a normal raspbian for the lcd. This worked even easier, as waveshare offers a prebuild installation routine. Just _one_ small problem with the touchscreen occured: since january Raspbian uses a different enviornment for touchscreen, you need to set the config manually:
Install the evdev package:
sudo apt-get install xserver-xorg-input-evdev
Simply add a Driver directive to the config line at /usr/share/X11/xorg.conf.d/99-calibration.conf so it looks like this:
Section "InputClass"
  Identifier "calibration"
  MatchProduct "ADS7846 Touchscreen"
  Option "Calibration" "56 4019 3893 120"
  Option "SwapAxes" "1"
  Driver "evdev"
EndSection
make a copy of this config, cause everytime you switch back to hdmi output and back to lcd output it will be overwritten ;)
Have a nice time fiddeling,
yours
webdoc
